

Regular Coffee Packaging Steps to Wrap a Coffee Bag:
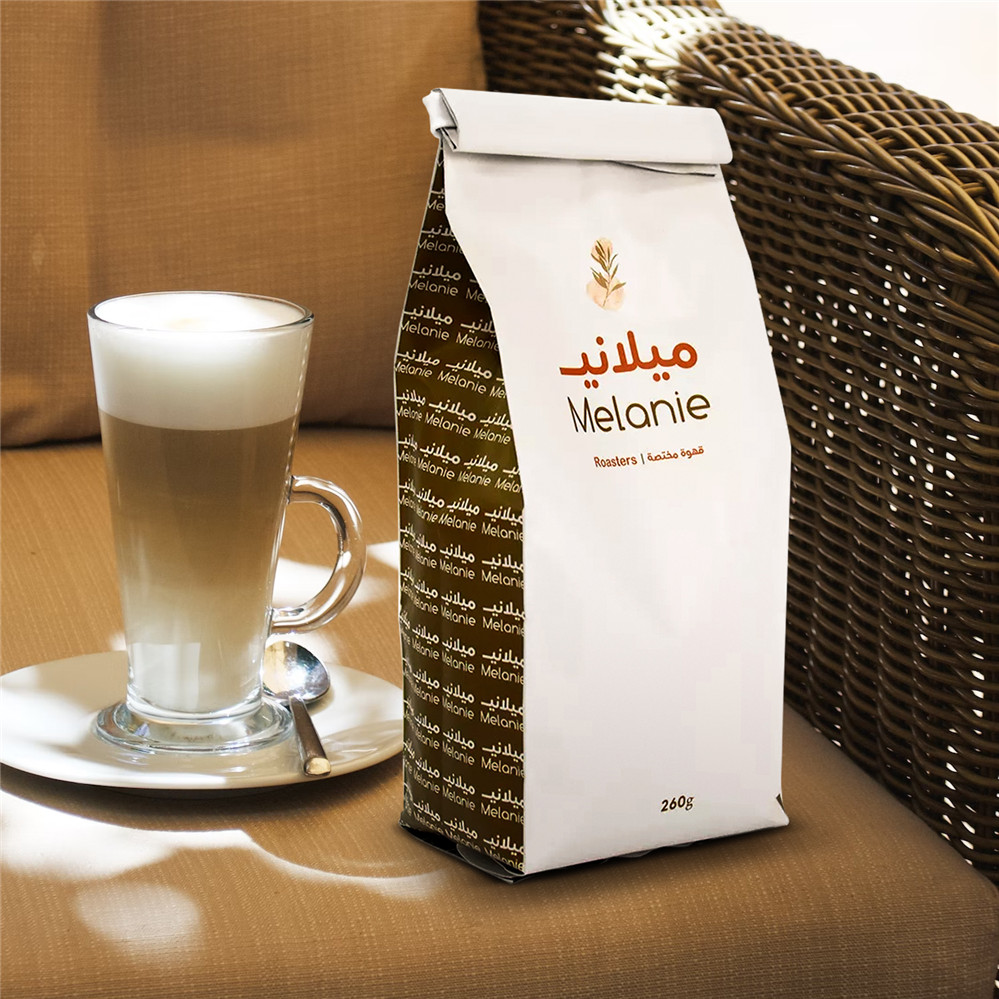
Step 1: Choose the Right Bag Sealer or Clip Select an airtight bag sealer or clip to effectively seal the coffee bag. This prevents air from entering the bag and helps maintain the coffee's freshness. Look for clips or sealers specifically designed for coffee bags, as they are more efficient at keeping air out.
Step 2: Remove Excess Air Before sealing the bag, press gently on it to remove as much excess air as possible. This step helps prevent oxidation and staleness. Hold the bag upright and press from the bottom upwards, gently squeezing the air out.
Step 3: Seal the Bag Fold the top of the coffee bag down a couple of times to create a clean edge. Place the airtight bag sealer or clip at the folded edge and ensure it's properly closed. Make sure there are no gaps or openings that could allow air to enter the bag.
Step 4: Label the Bag (Optional) For an extra touch of organization, consider labeling the bag with the coffee's roast date, origin, or any other relevant information. This step can be especially useful if you have multiple coffee bags with different roast profiles.
Step 5: Store in a Cool, Dark Place After sealing the coffee bag, store it in a cool, dark place away from direct sunlight, moisture, and temperature fluctuations. Avoid storing it near strong odors, as coffee can absorb other scents easily.
Step 6: Avoid Freezer Storage Contrary to popular belief, freezing coffee beans in the original bag is not recommended. Coffee beans are porous and can absorb moisture and odors from the freezer. If you need to store coffee for an extended period, divide it into smaller portions and use airtight containers specifically designed for freezer storage.

Specialized Zipper Packaging:
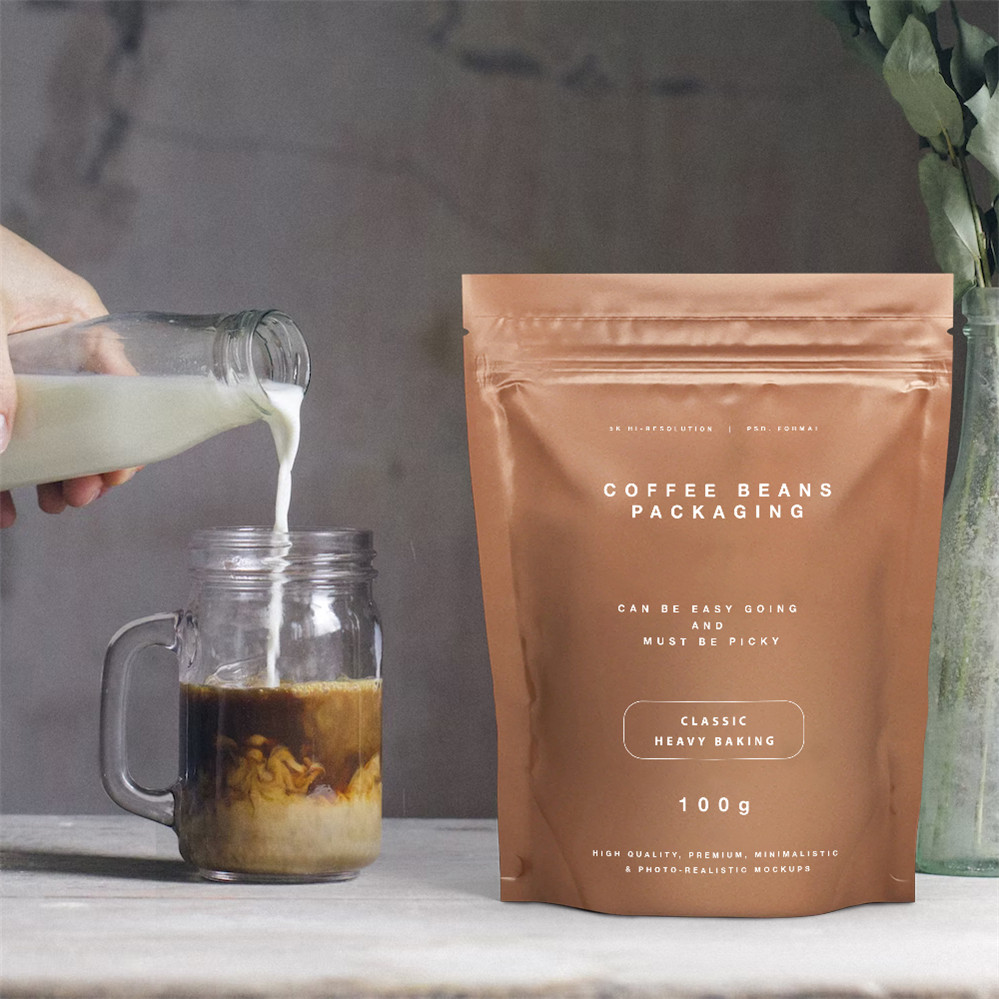
Step 1: Open the Zipper If your coffee bag has a specialized zipper seal, open it by pulling apart the two sides of the zipper at the designated notch.
Step 2: Seal the Bag After removing excess air, press the sides of the zipper seal together starting from the notch. Slide your fingers along the zipper to ensure a complete seal. The airtight seal prevents air from entering the bag, preserving the coffee's freshness.
Tin Tie Packaging:
Step 1: Fold and Secure Fold the top of the coffee bag down a couple of times to create a neat edge. Fold the tin tie over the folded portion and bend the metal tie around the bag's edge to secure it. This method offers a secure closure that prevents air from entering the bag.
Step 2: Trim Excess Length (Optional) If the tin tie has excess length, trim it with scissors to prevent it from getting in the way or causing any inconvenience.
Step 3: Label and Store (Optional) Consider labeling the bag with relevant information such as the roast date and coffee origin. Store the bag in a cool, dark place away from light, moisture, and temperature fluctuations.
Step 1: Place in Vacuum Bag
Place the coffee bag into a vacuum-sealable bag designed for food storage. Ensure the bag has enough space for the vacuum sealer to work effectively.
Step 2: Vacuum Seal the Bag
Use a vacuum sealer to remove air from the bag. The machine will suck out the air, creating an airtight environment that significantly prolongs the coffee's freshness.
Step 3: Label and Store (Optional)
Consider labeling the vacuum-sealed bag with roast date and origin information. Store it in a cool, dry, and dark location to maintain the coffee's quality.
Vacuum Packaging:
Conclusion: Properly wrapping a coffee bag is a simple yet essential practice for maintaining the freshness and flavor of your coffee. By following these steps, you'll be able to preserve the delicate aromas and taste notes of your coffee beans, ensuring a delightful and aromatic cup every time you brew. Remember to invest in quality bag sealers or clips and create a storage environment that safeguards your coffee from light, air, and moisture.